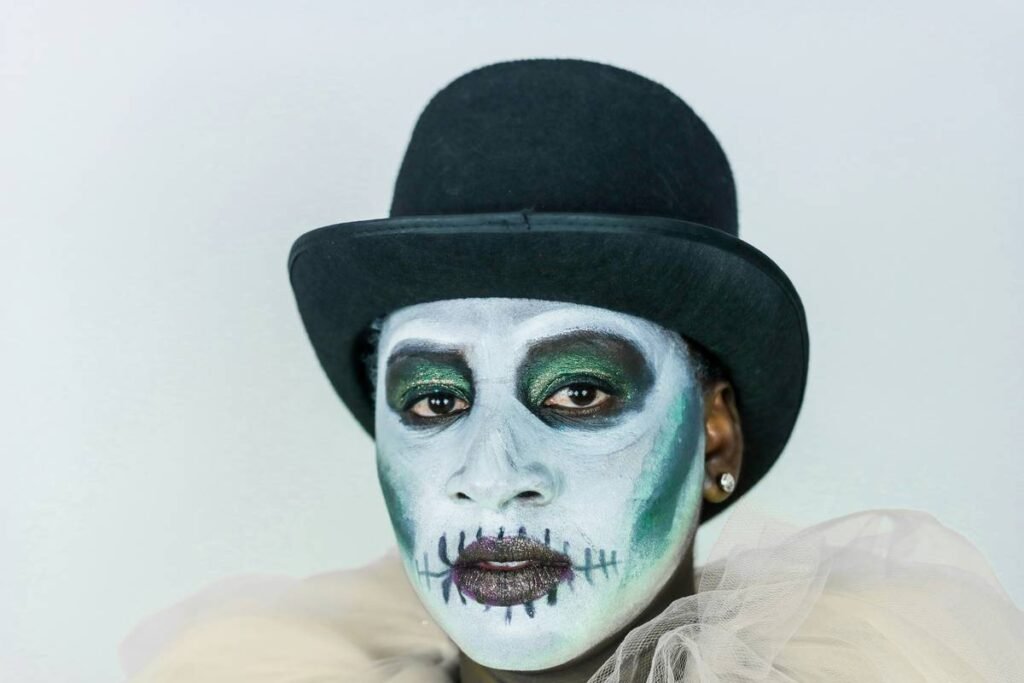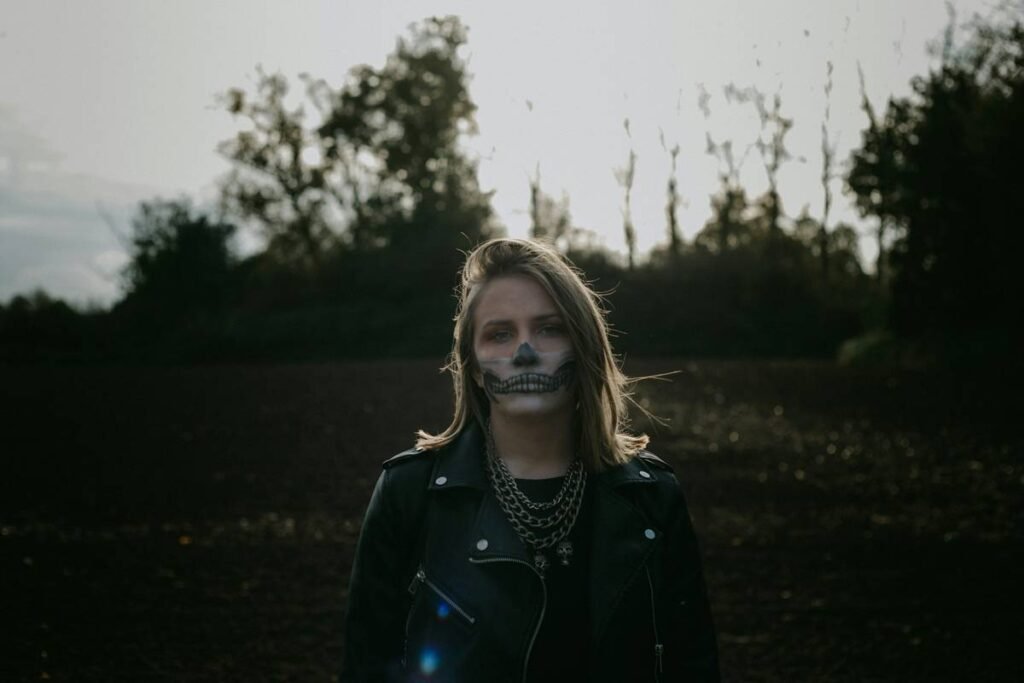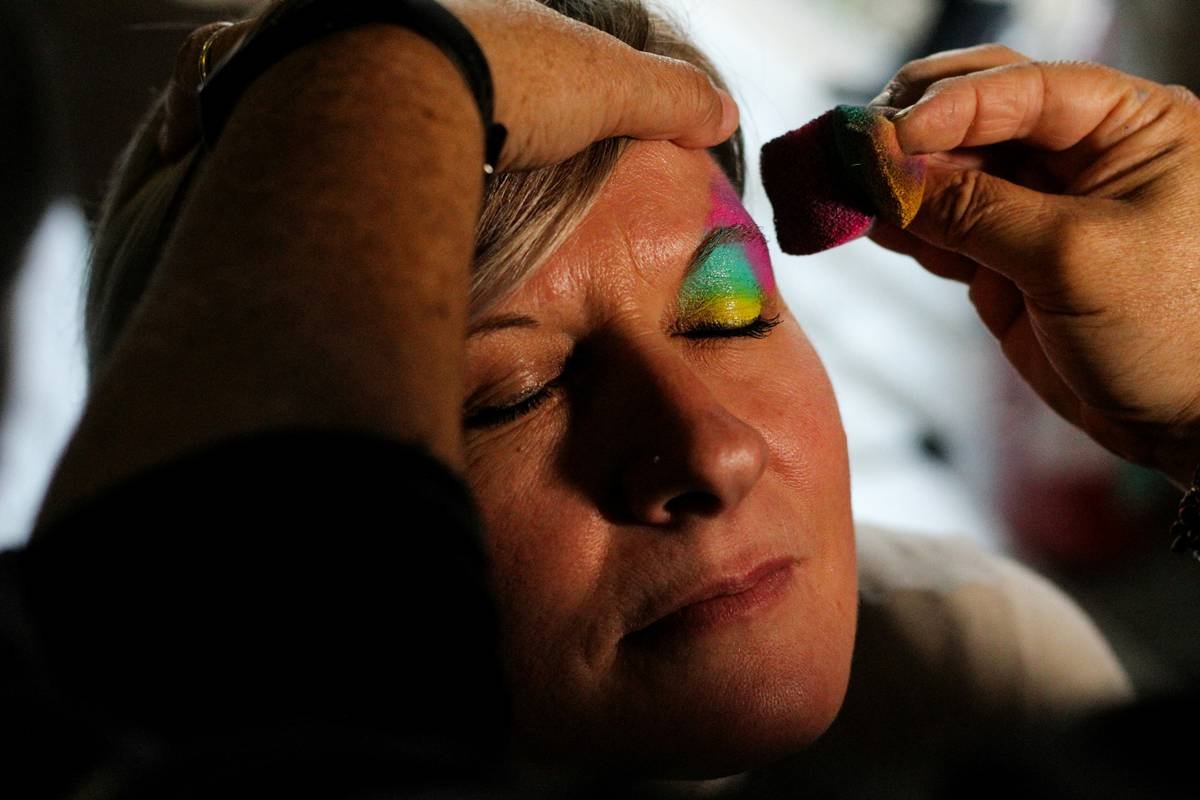
Most scar makeup looks fake—waxy, flat, and utterly unconvincing on camera. You’ve spent hours layering gels and paints, only to see your “battle wound” vanish under stage lights or read as a smudged pink blob in HD. The problem isn’t your effort—it’s your method. Advanced scar makeup techniques blend anatomy, texture, and lighting physics to create wounds that bleed realism, not just color.
Why Basic Scar Makeup Fails Under Pressure
Drugstore kits and YouTube hacks treat scars like stickers—surface-level decorations slapped onto skin. But real scars aren’t just discoloration. They’re topographical disruptions: sunken collagen valleys, raised keloid ridges, or jagged fissures that catch shadows differently depending on the light source. And they shift with facial movement. Ignore this—and your SFX collapses the moment the actor blinks.
Latex alone? It peels. Cream foundation over scar wax? It melts into an oily mess by hour two. The math is simple: realism demands structure, adhesion, and dynamic response. Not just pigment.
Step-by-Step Guide to Advanced Scar Makeup Techniques
Forget “layer and pray.” This isn’t craft time—it’s forensic artistry.
Map the Anatomy Before Touching Skin
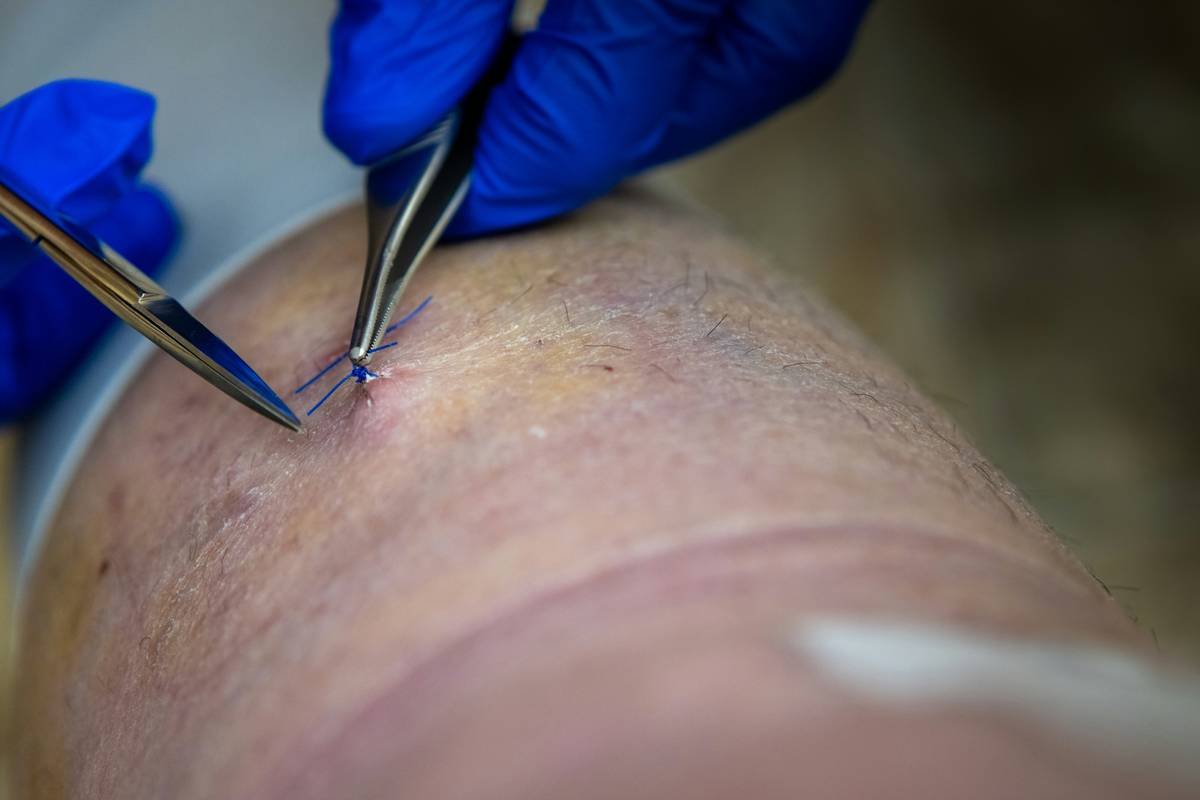
Study medical references. Is it a hypertrophic scar (raised, red) or atrophic (sunken, pale)? Traumatic lacerations have irregular edges; surgical scars are straight but may pucker. Sketch it lightly with a brow pencil first. Precision here saves 20 minutes of correction later.
Build Dimension with Stipple, Not Slather
Ditch thick globs of gelatin. Use a silicone-based build (like 3rd Degree or Gel-10) applied with a stipple sponge—not a brush. Dab, don’t smear. Each layer should be translucent. Cure under a cool setting before adding the next. This mimics how scar tissue forms in thin strata over weeks.
Lock It In With Flex-Seal Spray
After coloring, mist with a flexible setting spray (Ben Nye Final Seal works). Standard hairspray cracks. Your scar must move with the jaw, forehead, or neck without flaking. Skip this—and sweat becomes your enemy.
| Technique | Material Used | Durability (Hours) | Cost per Application |
|---|---|---|---|
| Basic Latex + Paint | Mold latex, cream makeup | 2–3 | $3–$5 |
| Wax Transfer Method | Scar wax, alcohol-activated paints | 4–6 | $8–$12 |
| Advanced Silicone Build | Platinum silicone, pigment dispersions | 8–12+ | $15–$25 |
The Industry Secret Most Artists Won’t Share
Here’s the reality: lighting dictates texture more than product. On set, cinematographers use cross-lighting to accentuate depth. If you’re working for film, sculpt your scar so its highest ridge runs perpendicular to the key light—this casts a micro-shadow that screams “real” even in soft focus. But for stage? Flatten the center slightly. Harsh overheads flatten dimension otherwise. And never—ever—use red in the base layer. Real fresh scars are more purple-blue due to pooled deoxygenated blood. Red reads as theatrical paint, not trauma.
Frequently Asked Questions
How do you make scars look newly healed vs. old?
New scars have a moist sheen and bluish-purple undertones. Old scars are pale, dry, and often depressed. Use translucent powder sparingly on mature scars; skip it entirely on fresh ones.
Can advanced scar makeup techniques work on oily skin?
Yes—but prep is non-negotiable. Degrease with 99% isopropyl alcohol, then apply a thin layer of adhesive like Telesis 5. Oily skin breaks down silicone faster, so seal aggressively.
What’s the biggest mistake beginners make with scar makeup?
Over-saturating color. Scars aren’t neon. Build subtle shifts: ochre in shadows, cool gray in highlights. Less pigment, more dimension.