You’ve tried liquid latex. You’ve layered foundation. But your scar still looks like paint—not pain. That flat, shiny patch screams “costume,” not “convincing.” And in film, theater, or immersive horror experiences, that break in realism kills immersion instantly. Here’s how top SFX artists build scars that bleed authenticity—without breaking the bank.
Why store-bought scar kits fail (and make you look amateur)
Pre-molded scar prosthetics? They’re one-size-fits-none. Your skin moves. Real scars deform with expression, stretch with tension, and catch light unevenly. Off-the-shelf kits sit on the surface—they don’t integrate. Worse, they often use rigid materials that crack under stress or peel at edges during long shoots. The illusion shatters in HD or under stage lights. And no amount of blending fixes a texture mismatch.
special effects makeup for scars: step-by-step from scratch
Forget shortcuts. This is craft. Start clean. Prep skin with 99% alcohol to remove oils—adhesion depends on it. Then follow these stages:
Build dimension with flexible gelatin or silicone
For raised keloid scars, mix Pros-Aide with cosmetic-grade silicone or create a custom gelatin blend (gelatin, glycerin, water). Apply in thin layers with a spatula—build height gradually. Let each layer tack-dry before adding the next. This mimics collagen buildup beneath real scar tissue.
Texture is everything—think beyond bumps
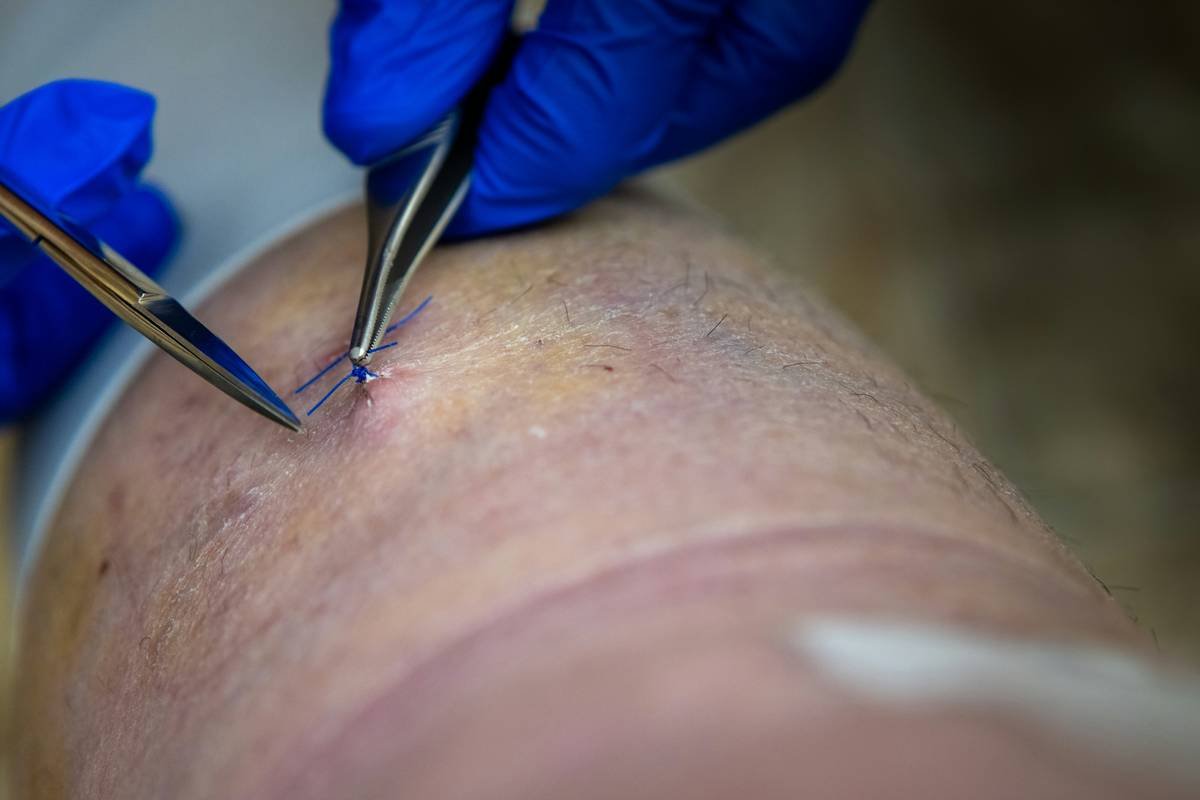
Real scars aren’t uniformly rough. Some are smooth but taut; others are pitted like acne craters. Use a stipple sponge for shallow depressions or carve into semi-set gelatin with a sculpting tool for deep lacerations. Then seal with thin layers of medical-grade adhesive.
Color isn’t just red—it’s layered storytelling
Fresh trauma shows blues (deoxygenated blood), purples (bruising), and yellows (healing). Mature scars lean silvery-white with pink undertones at tension points. Layer cream pigments: start cool base tones, then add translucent reds only where capillaries would show through thin tissue.
| Method | Material Cost (per application) | Durability (hours) | Realism Score (1-10) |
|---|---|---|---|
| Liquid Latex + Powder | $2–$5 | 2–4 | 5 |
| Gelatin Blend (DIY) | $3–$7 | 5–8 | 8 |
| Platinum Silicone Prosthetic | $15–$40+ | 10–16 | 9.5 |
The industry secret: movement sells the lie
Here’s what no tutorial tells you: a static scar reads fake. The magic happens when the scar moves *with* the actor. Pros embed thin strands of fishing line or monofilament under the edges of raised scars. When the performer flexes their jaw or brow, the scar subtly distorts—mimicking how fibrous tissue pulls against surrounding skin. It’s invisible on camera but triggers subconscious recognition in viewers. And it costs pennies. But it requires planning: map facial motion paths before application. Test expressions early. A scar on the cheek must wrinkle differently than one on the neck. Ignore biomechanics, and your masterpiece becomes a mask.
FAQ
Can I use regular glue instead of Pros-Aide?
No. Craft or school glue isn’t skin-safe—it can cause rashes or fail under sweat. Always use medical-grade adhesives rated for dermal contact.
How do I remove special effects makeup for scars without damaging skin?
Soak gently with isopropyl myristate or 99% alcohol on cotton pads. Never scrub. Peel slowly once adhesive softens. Follow with a ceramide moisturizer.
Are there vegan options for scar-making materials?
Yes. Use agar-agar instead of gelatin, and silicone-based modeling compounds avoid animal derivatives. Just confirm pigment ingredients—some reds use carmine.